
Set up your card
Open your staff card
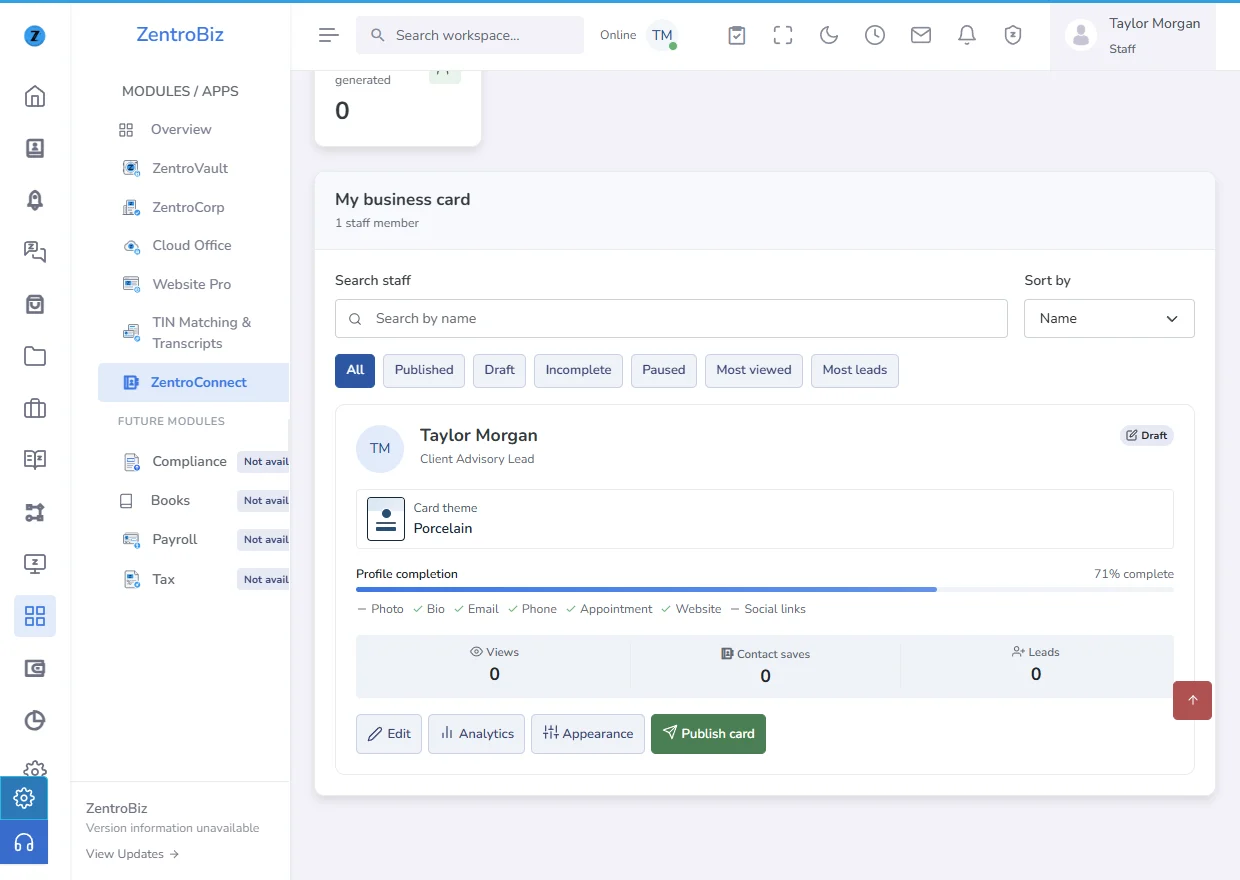
In your ZentroBiz workspace, open ZentroConnect and select Business cards. Choose Edit on your card, or Create card if you are starting from scratch.
 Open full-size screenshot
Enter your public details
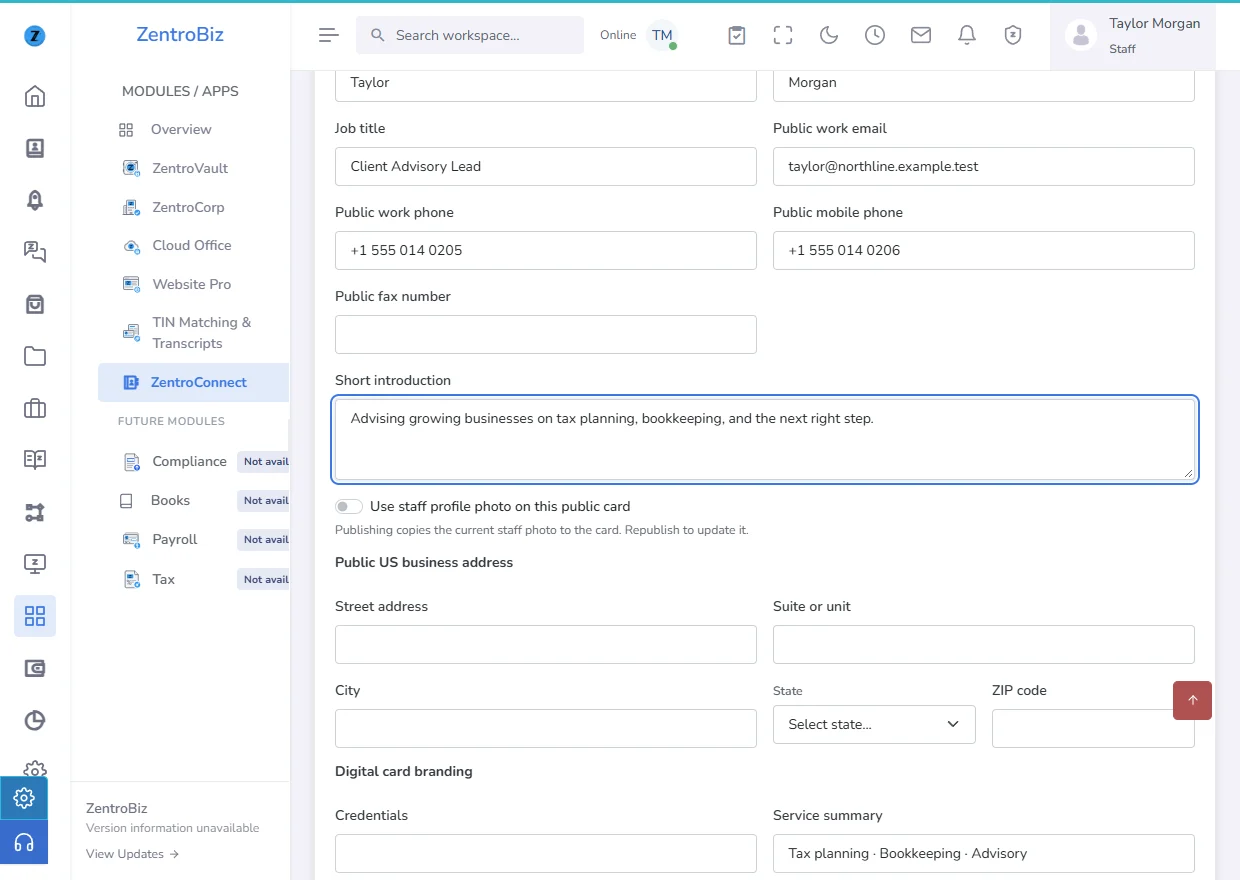
Add your name, job title, public email and phone, and a short introduction. Add your address, social links, and any website or booking buttons you want visitors to see. Select the staff photo option if you want to show your current profile photo.
 Open full-size screenshot
Save the card draft
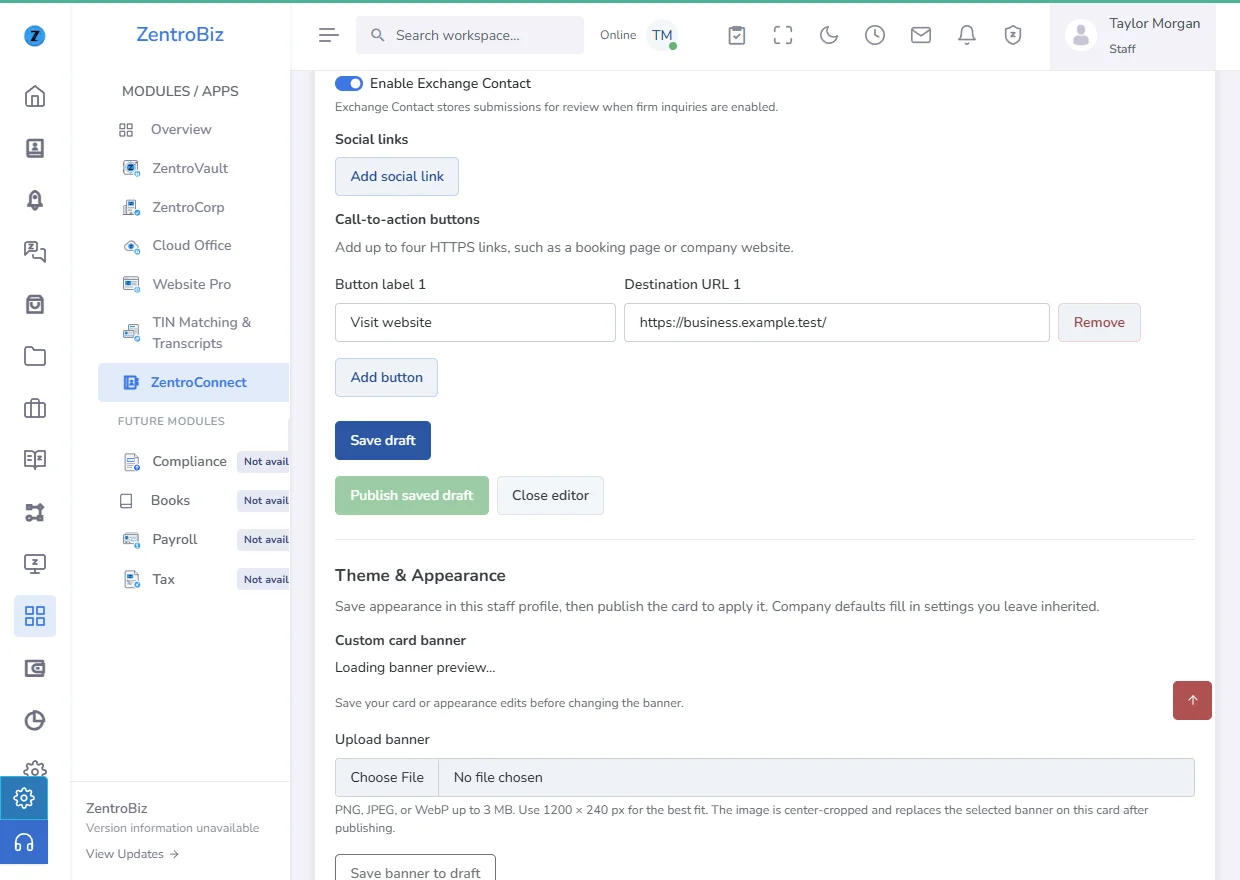
Select Save draft. Review these details as public information before publishing.
 Open full-size screenshot
Choose a theme and banner
Select your theme
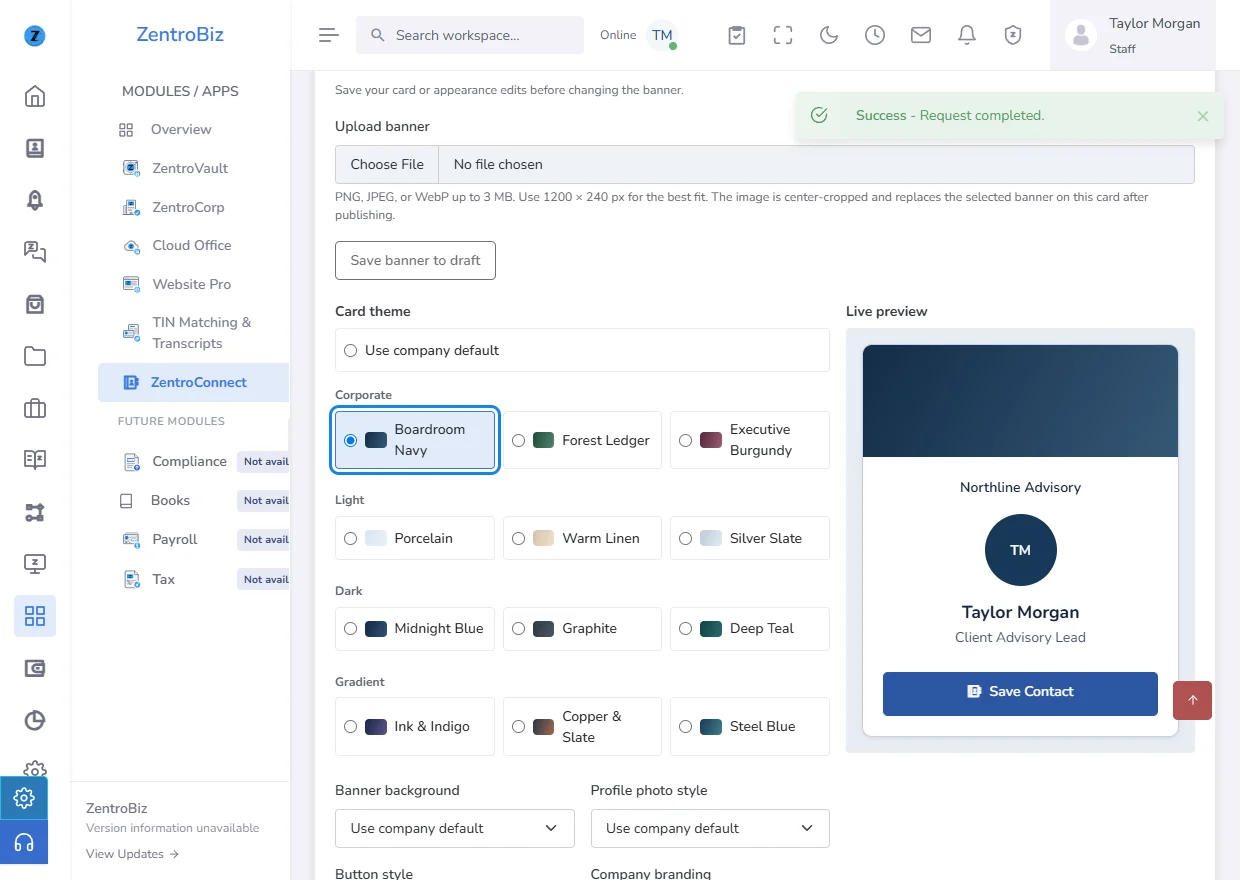
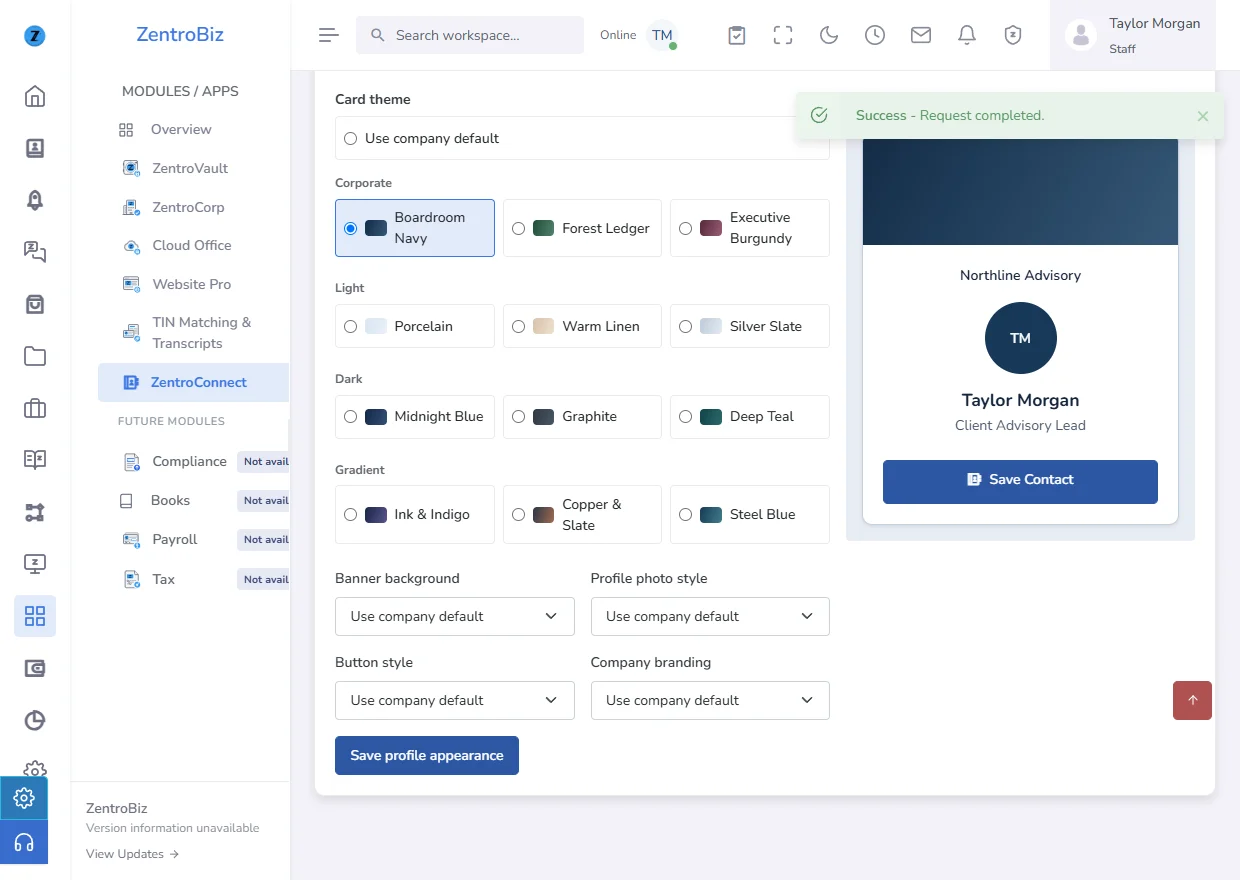
Choose Appearance from your staff card. In Theme & Appearance, select a theme, then review the preview. You can also change the profile photo shape, button style, and banner background.
 Open full-size screenshot
Save your appearance choices
Select Save profile appearance. Choose Company background to use the shared image set under Settings → Appearance & Branding → Login Background Image. Save your appearance and republish to show that setting on the public card.
 Open full-size screenshot
Choose a custom banner file
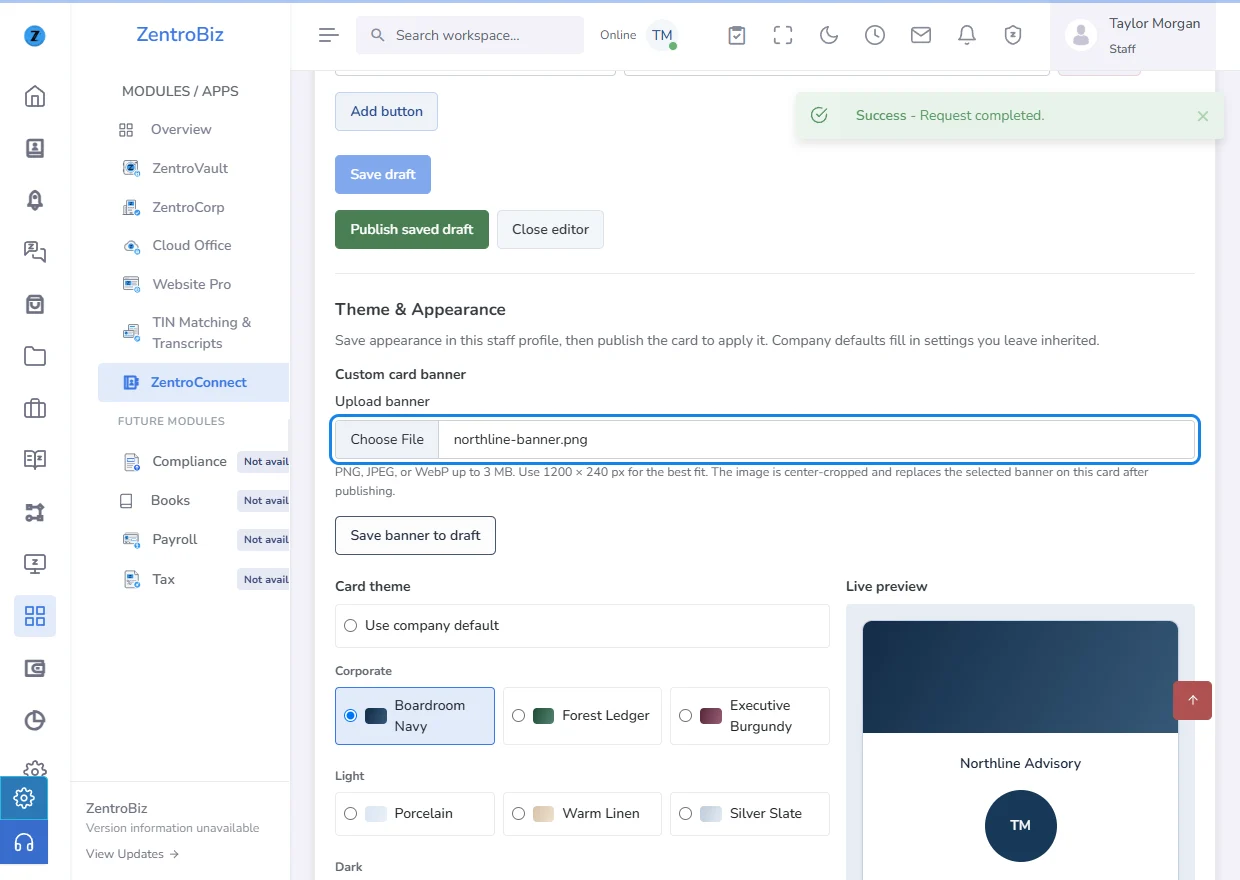
Under Custom card banner, select Upload banner and choose a PNG, JPEG, or WebP image up to 3 MB. Use a 1200 × 240 px image for the best fit. Other sizes are center-cropped.
 Open full-size screenshot
Save and preview the crop
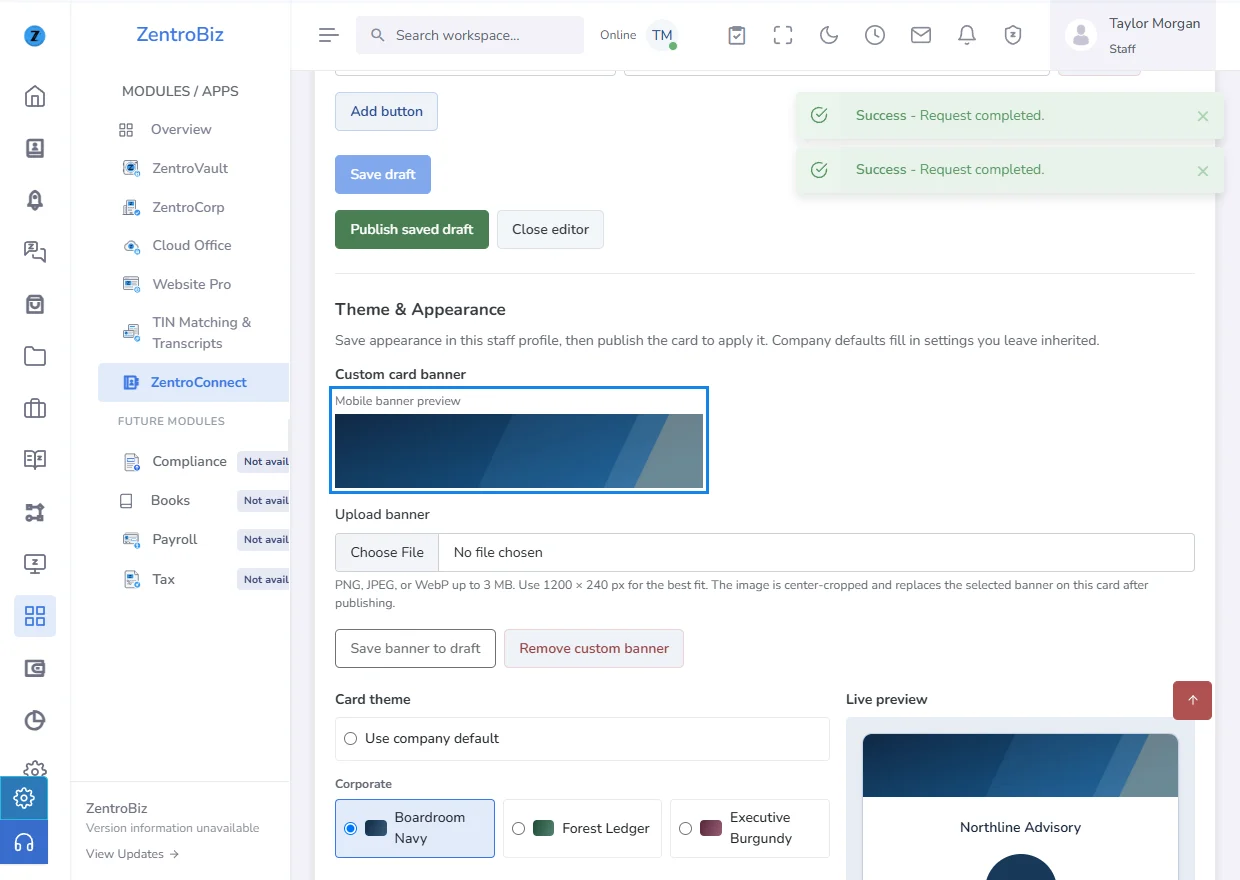
Select Save banner to draft and check the mobile preview. To return to the selected theme or company background, choose Remove custom banner and publish the card again.
 Open full-size screenshot
Publish and share your card
Publish the saved draft
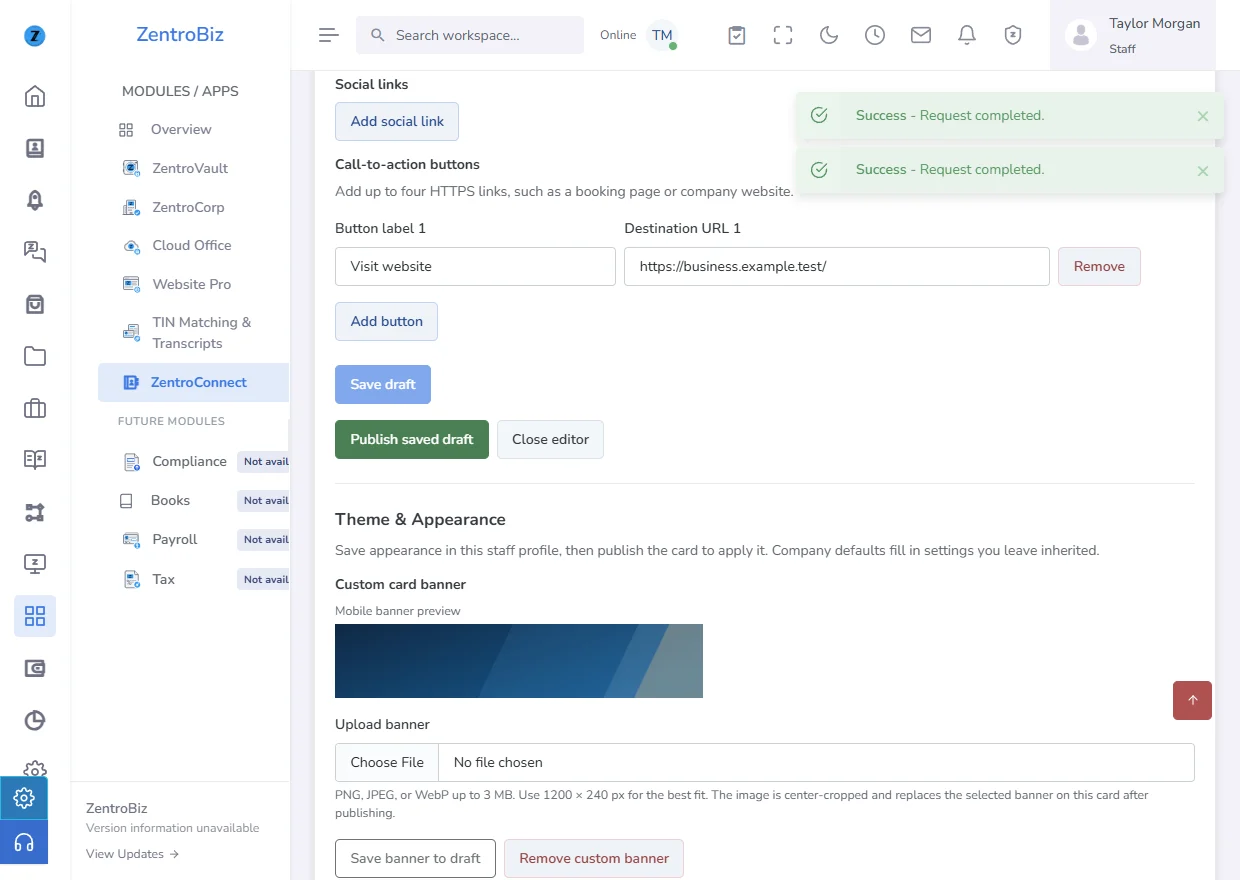
Select Publish saved draft. If the button is unavailable, save your edits and check that your firm allows public cards and your account can publish.
 Open full-size screenshot
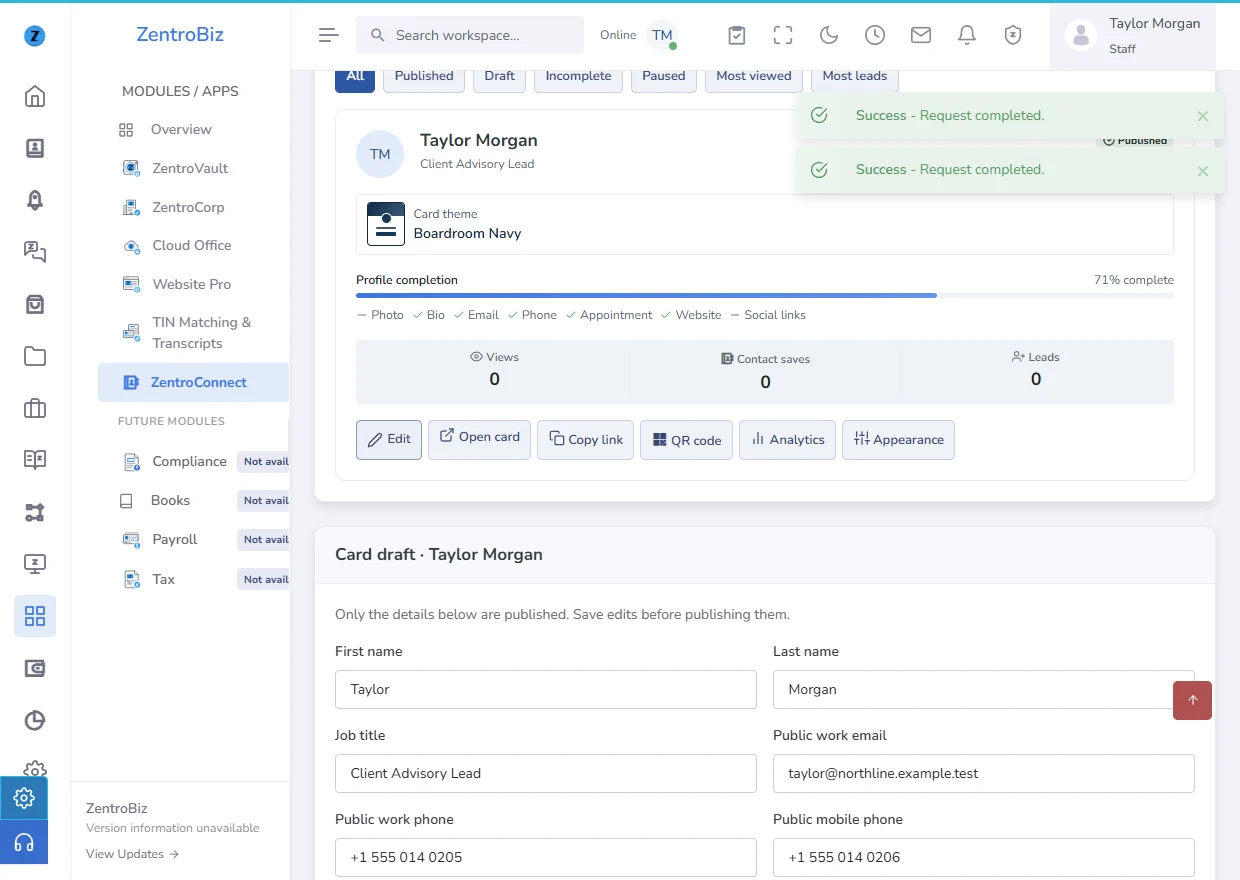
Open your public card
Select Open card to see what visitors see. Check the banner, contact details, and destination buttons before sharing.
 Open full-size screenshot
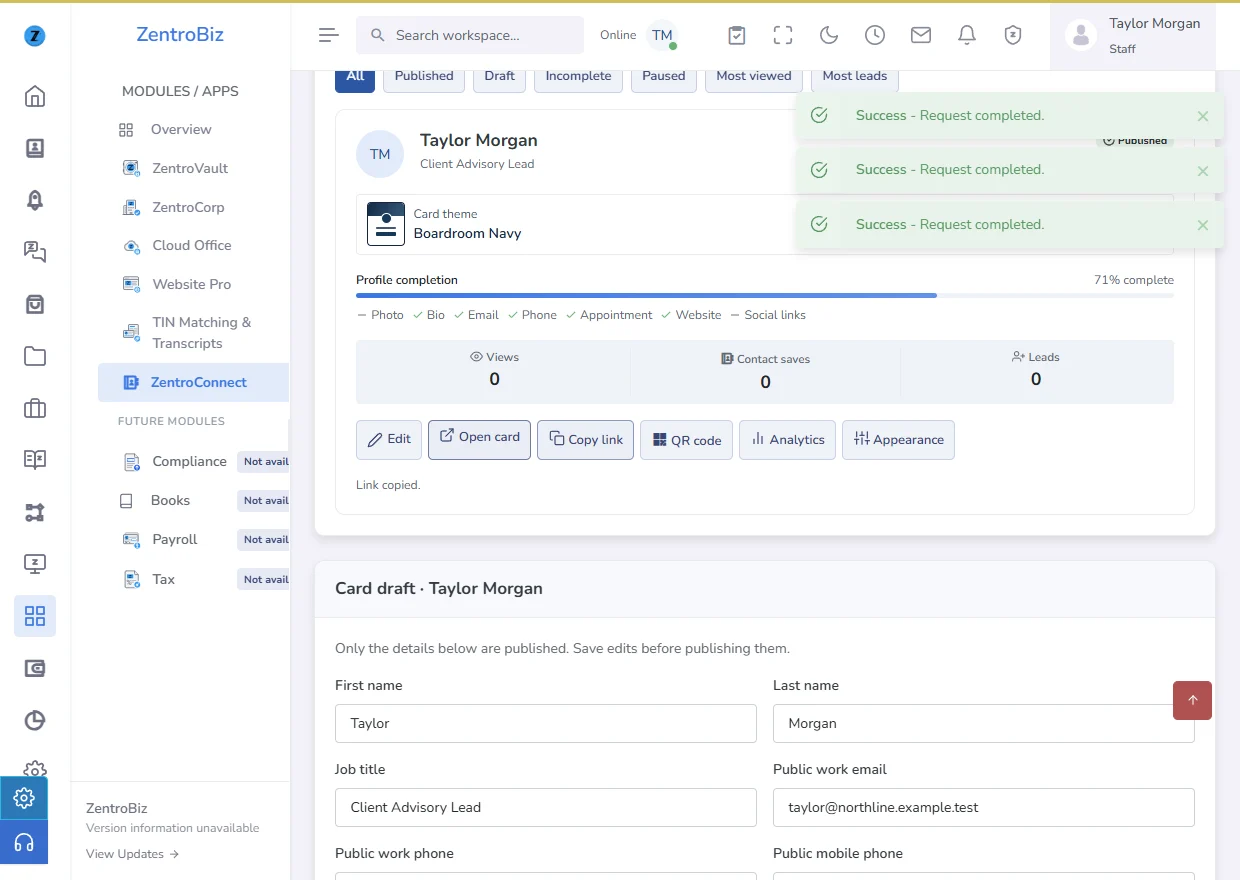
Copy the public link
Select Copy link on the staff card. Paste the link into an email signature, message, or online profile.
 Open full-size screenshot
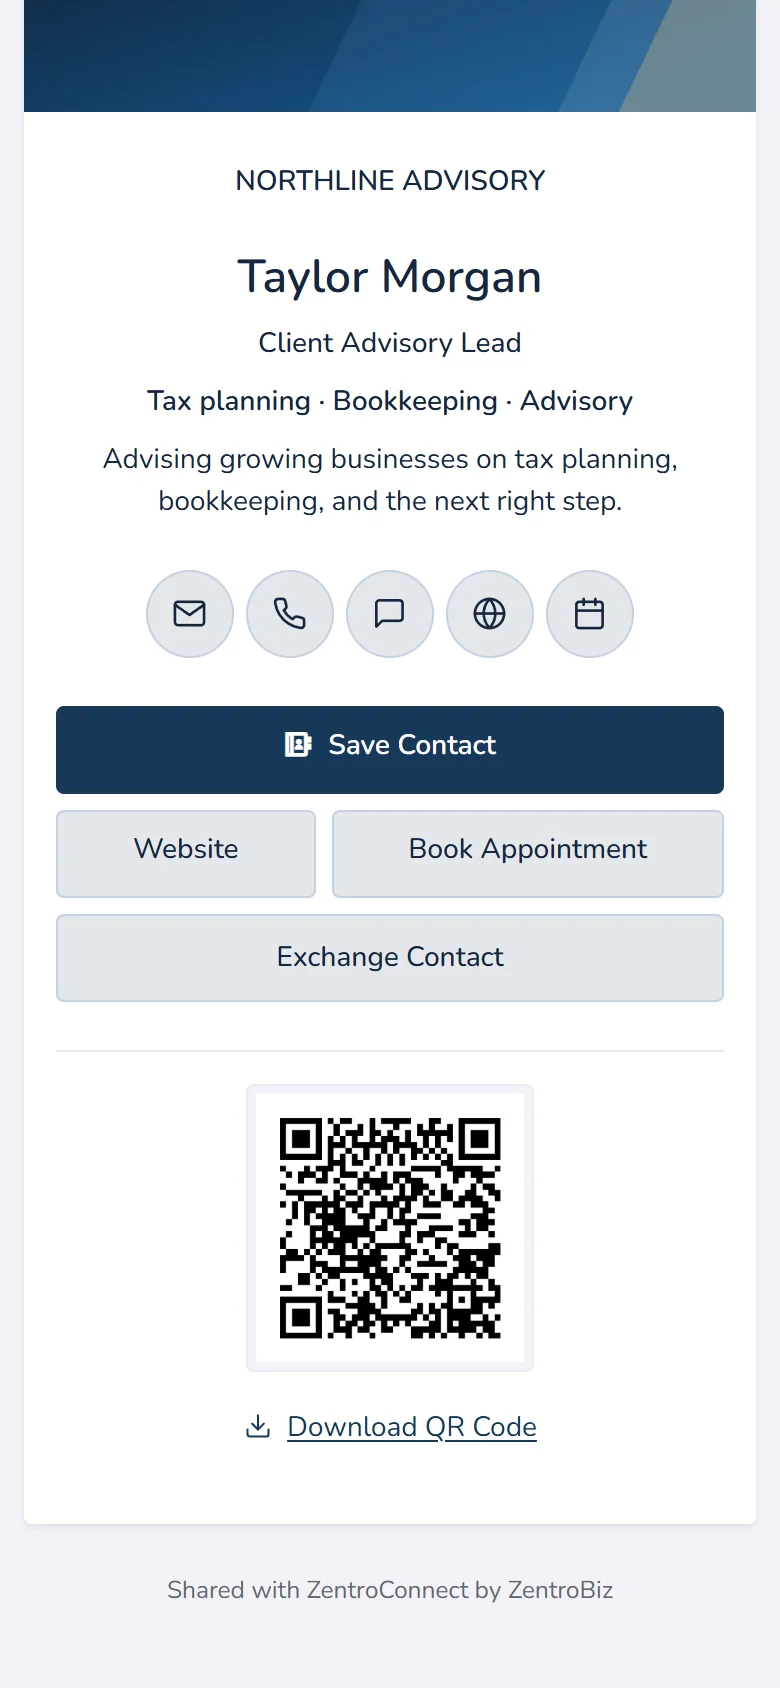
Download the QR code
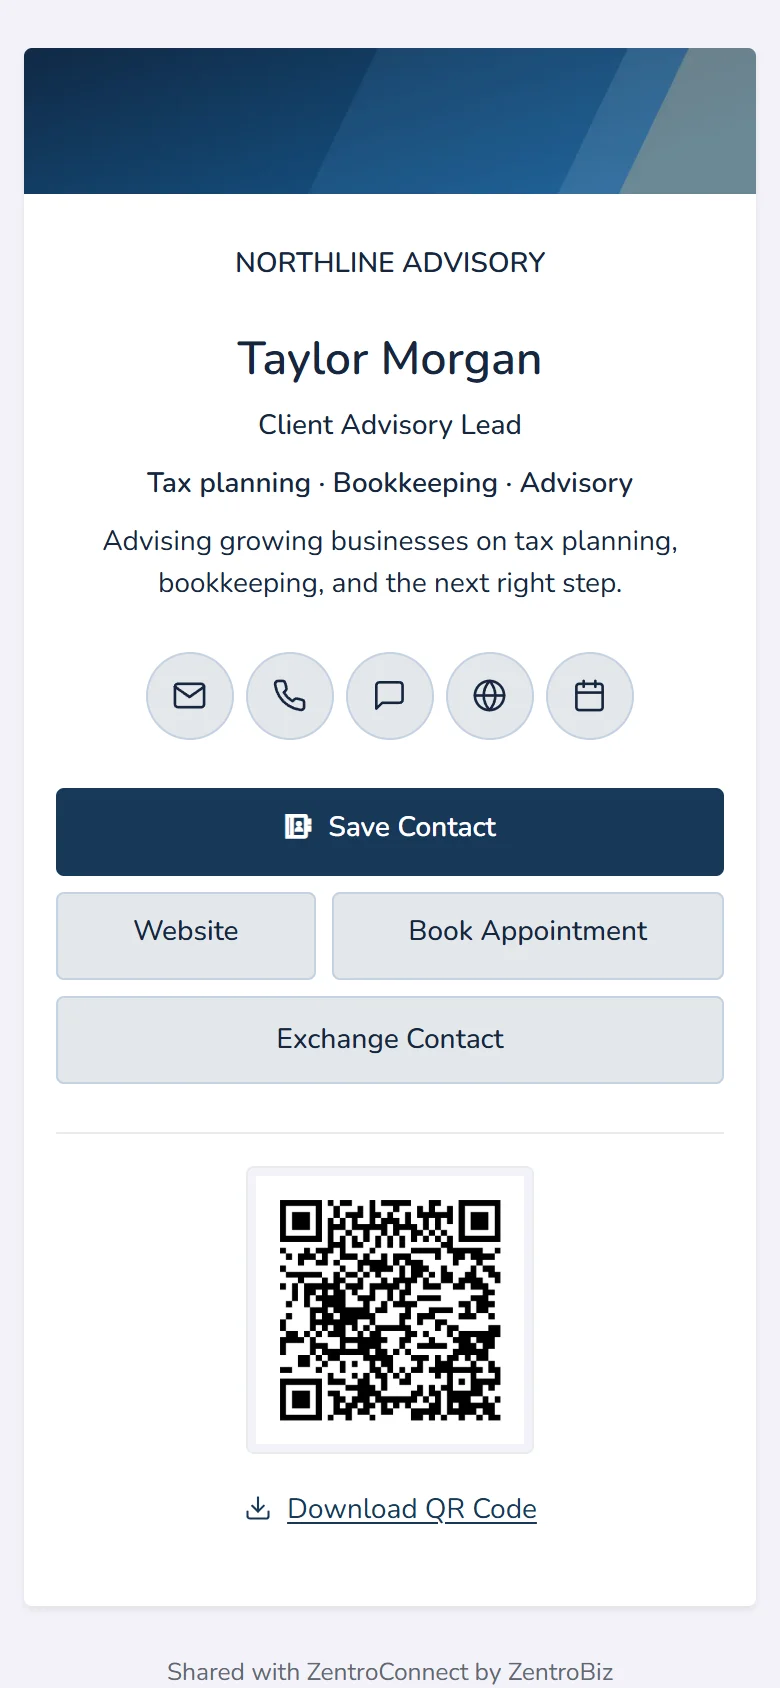
On the public card, select Download QR Code. Use that PNG on printed material or in a presentation. Test the QR code after placing it in the final design.
 Open full-size screenshot
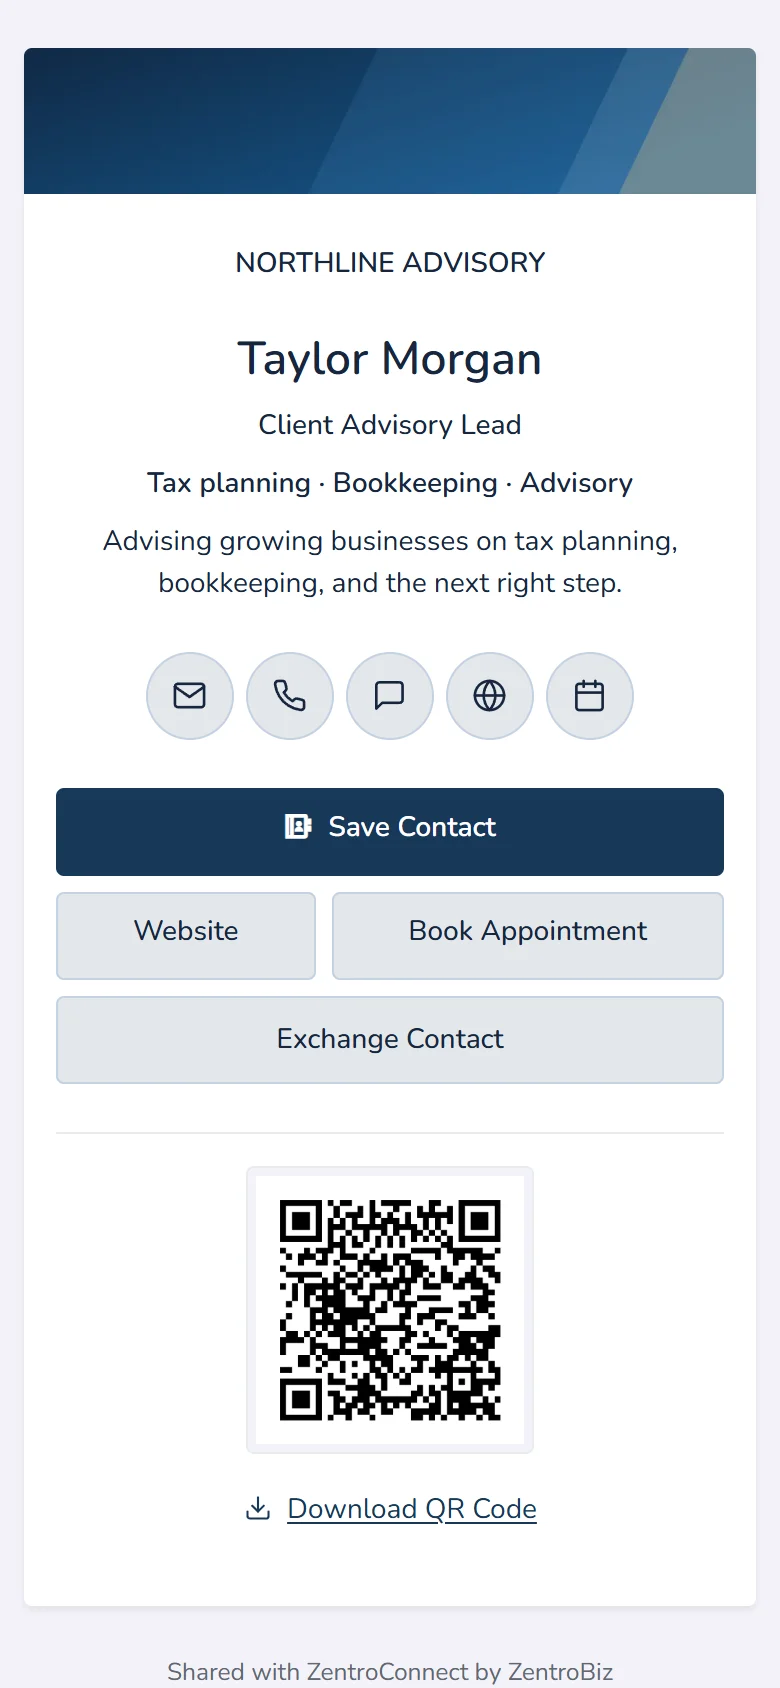
Save the contact
A visitor can select Save Contact to download a vCard. Open the .vcf file and use the phone or computer’s contact-import option.
 Open full-size screenshot
Receive inquiries and review engagement
Receive an Exchange Contact submission
When your firm accepts inquiries and you enable Exchange Contact on your card, visitors can enter their details, consent, and select Send my details. Exchange Contact queues the submission for review in Leads.
 Open full-size screenshot
Review the inquiry in Leads
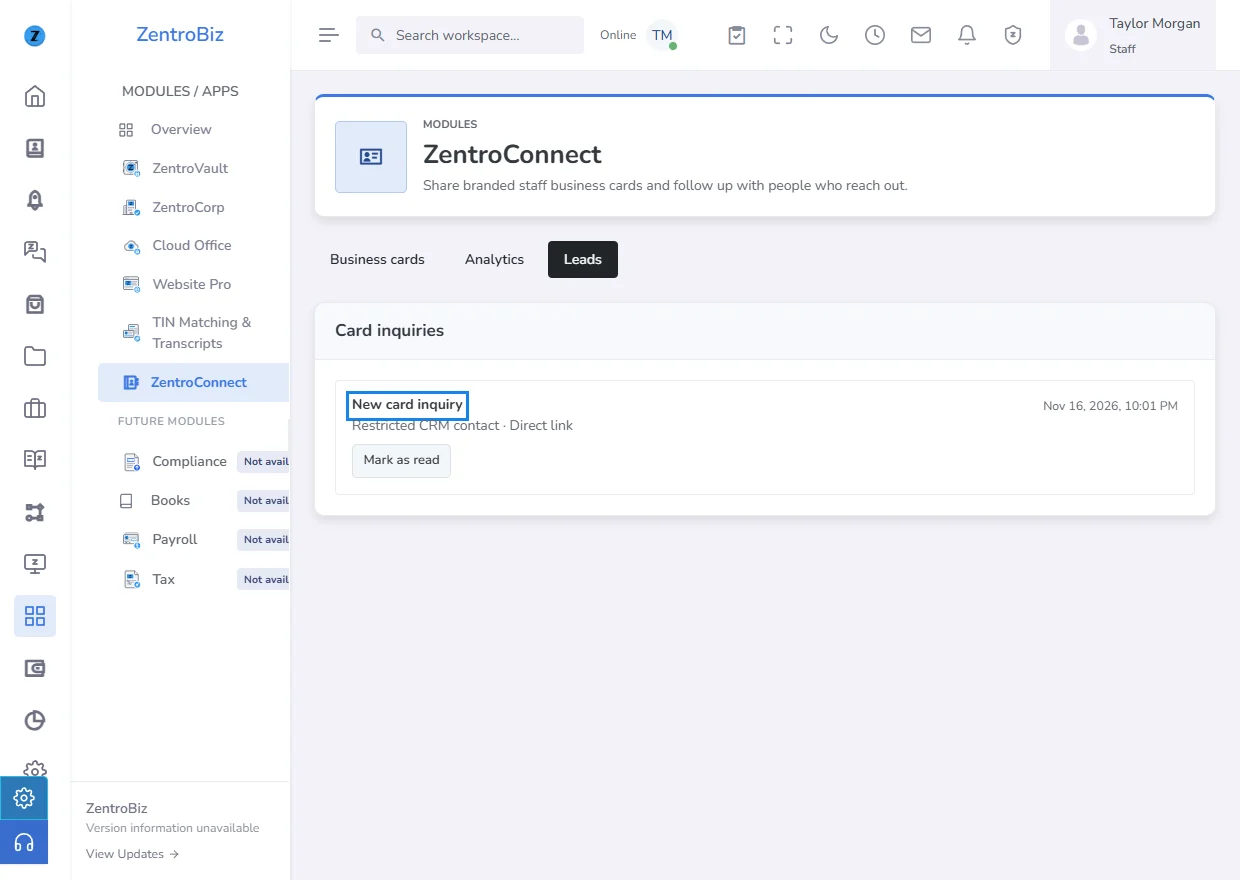
Open Leads in ZentroConnect to review the information available to your role. Exchange Contact submissions do not automatically create a CRM contact. On the separate CRM-connected inquiry form, an email match links the inquiry to the existing contact.
 Open full-size screenshot
Check card analytics
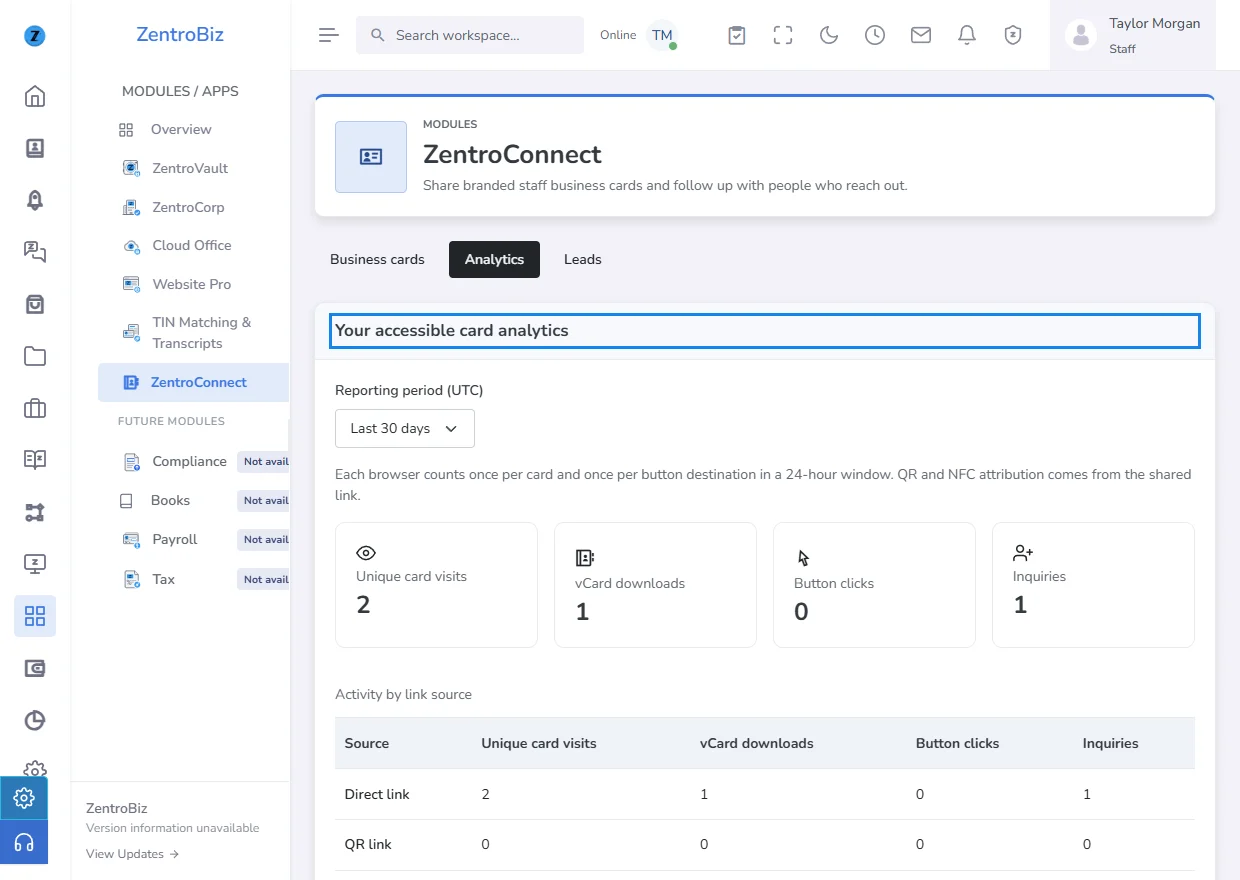
Open Analytics and choose a reporting period. Review card visits, vCard downloads, button activity, inquiries, and available source attribution.
 Open full-size screenshot